
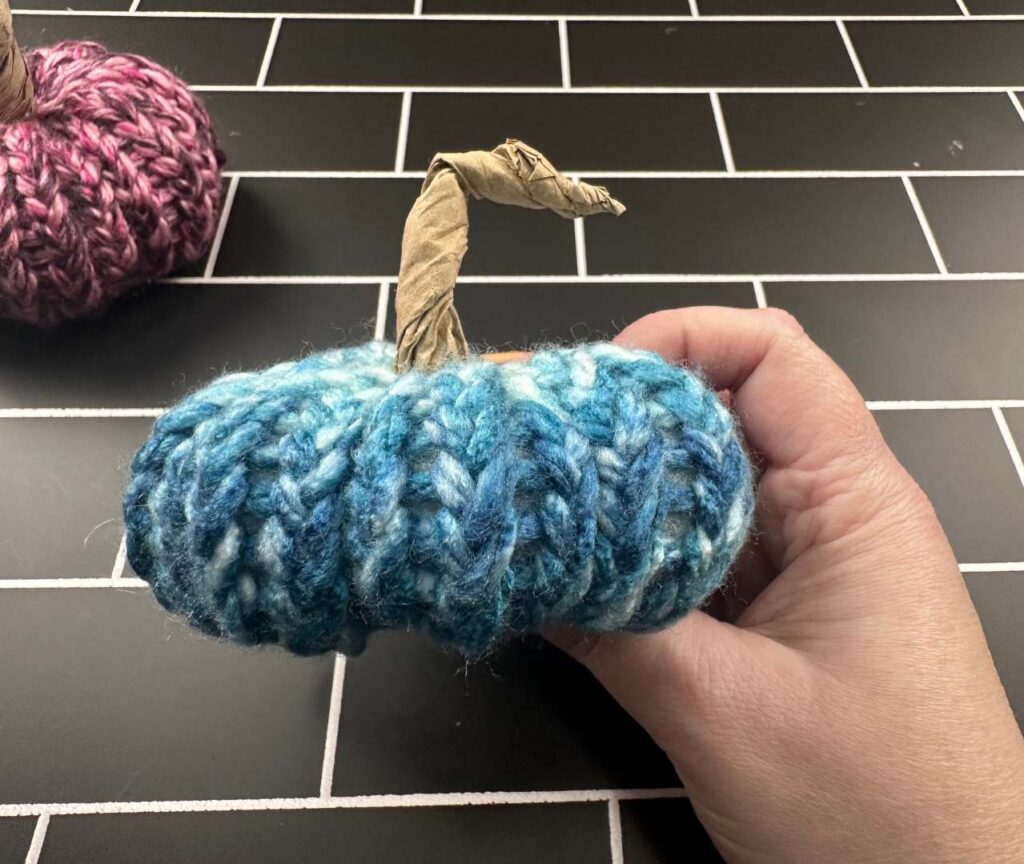
Here’s a step-by step Loom Knit Pumpkins Tutorial with Video to help you create adorable yarn pumpkins for the entire season.
It’s full on pumpkin season at the Burke household and I am so charmed by the loom knit pumpkins that I’m sharing with you today!
If you know me, you know that Fall and especially Halloween are not my thing. Never have been. So I’m doing my best this year to change that by creating Halloween Crochet projects that are more my style (cute and colorful, not scary and orange). So far, it’s working out great.
I’m sharing an entire Halloween Series on Youtube you should check out if you also want to create some cute stuff for your Halloween mantle. I recently shared my yarn pumpkins made just from wrapping yarn that I think you’ll love too.
Until then, I think you’ll love these little charming loom knit pumpkins. You can make them in any color you wish, even stripe them. They are simple and sweet.
https://youtu.be/n1CXHdulj5c
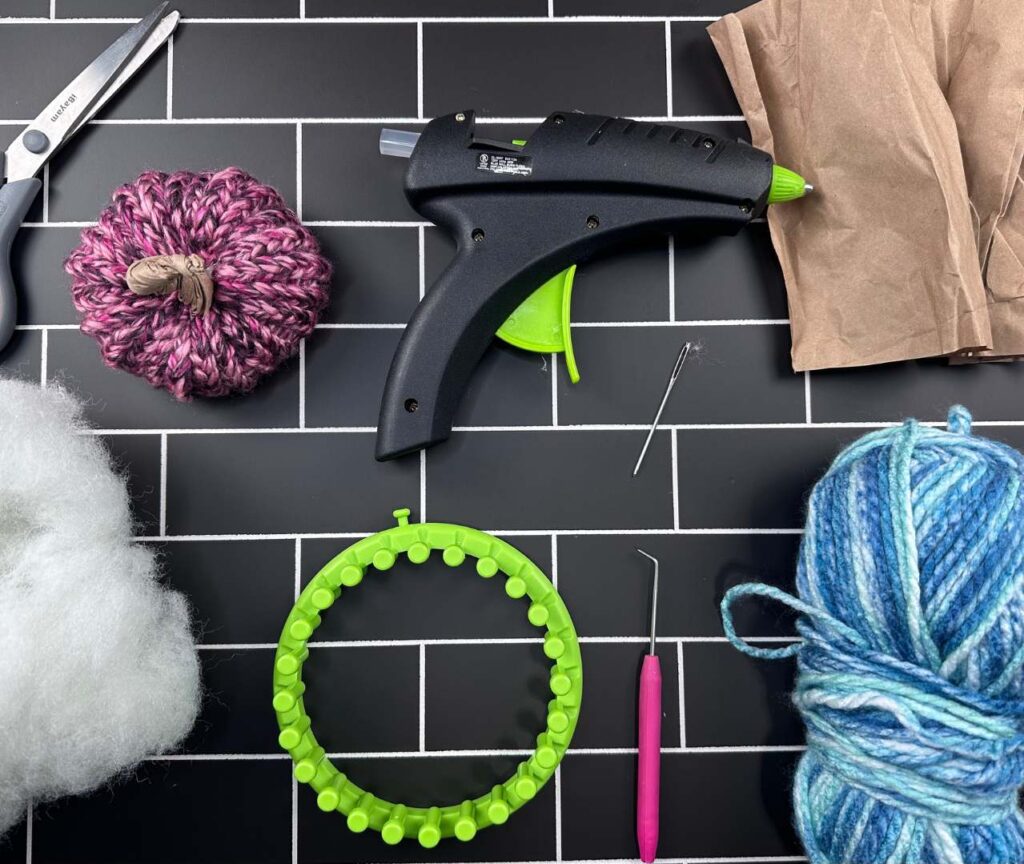
Loom Knit Pumpkins Supplies
- Yarn Needle – I recommend a metal one cause you’re really going to be tugging hard
- Brown Kraft Packing Paper (save yours from Amazon or see Stem Alternatives Below)
How to Make Loom Knit Pumpkins
Start by creating a slip knot with a long tail and placing it over your anchor peg.
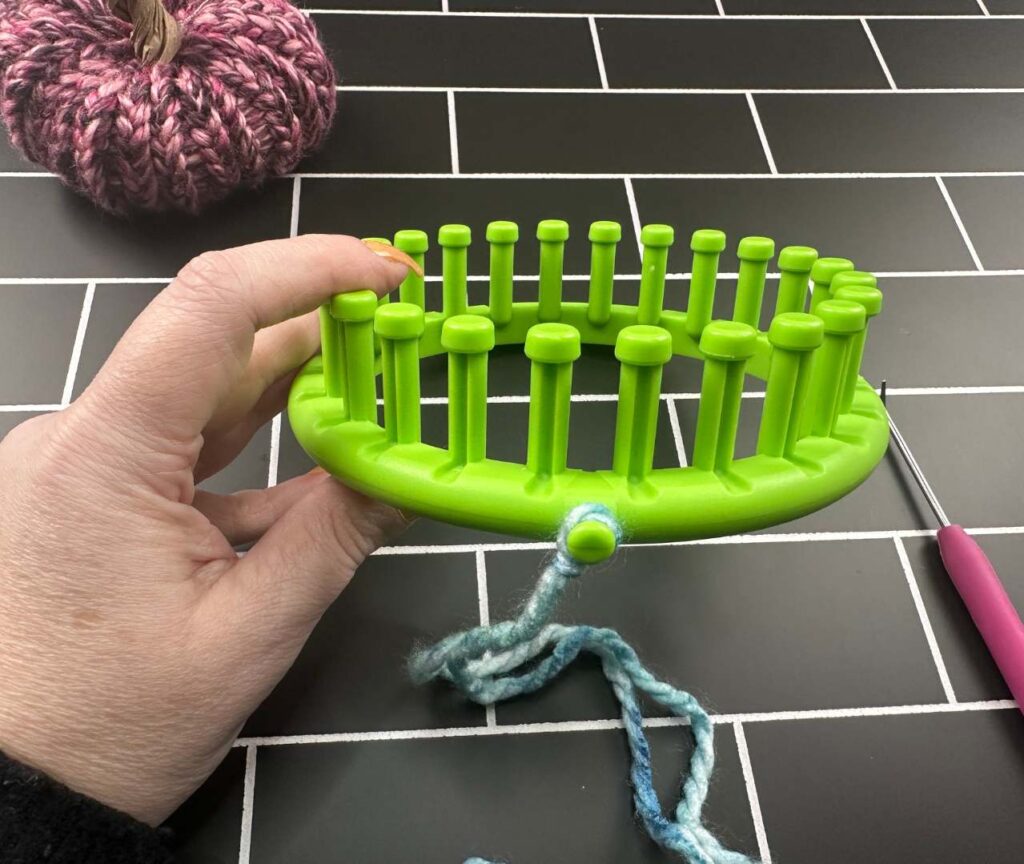
Next begin to E wrap around each peg.
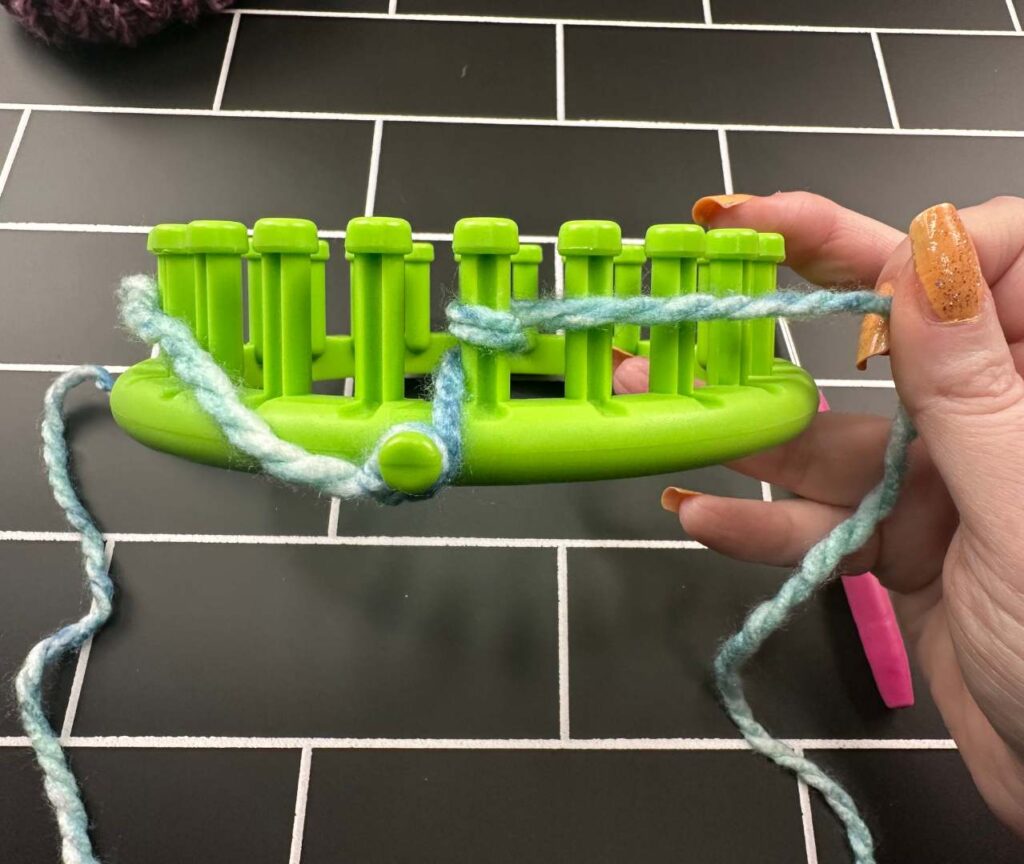
To E Wrap, wrap your yarn clockwise around the first peg to the right of your slip knot/anchor peg. Continue to wrap in this fashion around all of the loops. Keep your tension taut but not tight. If it’s too tight you won’t be able to pull the loops over the peg. Keep this in mind as you wrap. If this is your first time using a knitting loom, it could take a few rows before you really get the hang of it, and it’s a little fumbly to hold at first, but stick with it because the results really are worth the practice.
Once this is complete, push down all of the yarn on your loom

Now make a second pass of E wraps on your loom. Stop at the last peg.

Many people start with the first peg when flipping their loops but I like to start with the last peg because then I don’t have to hold my yarn tail the whole time.
Insert your turning hook into the groove of the last peg and underneath the bottom loop and pull this loop over the top loop and off of the peg. You should now, again, only have one loop remaining on that peg.
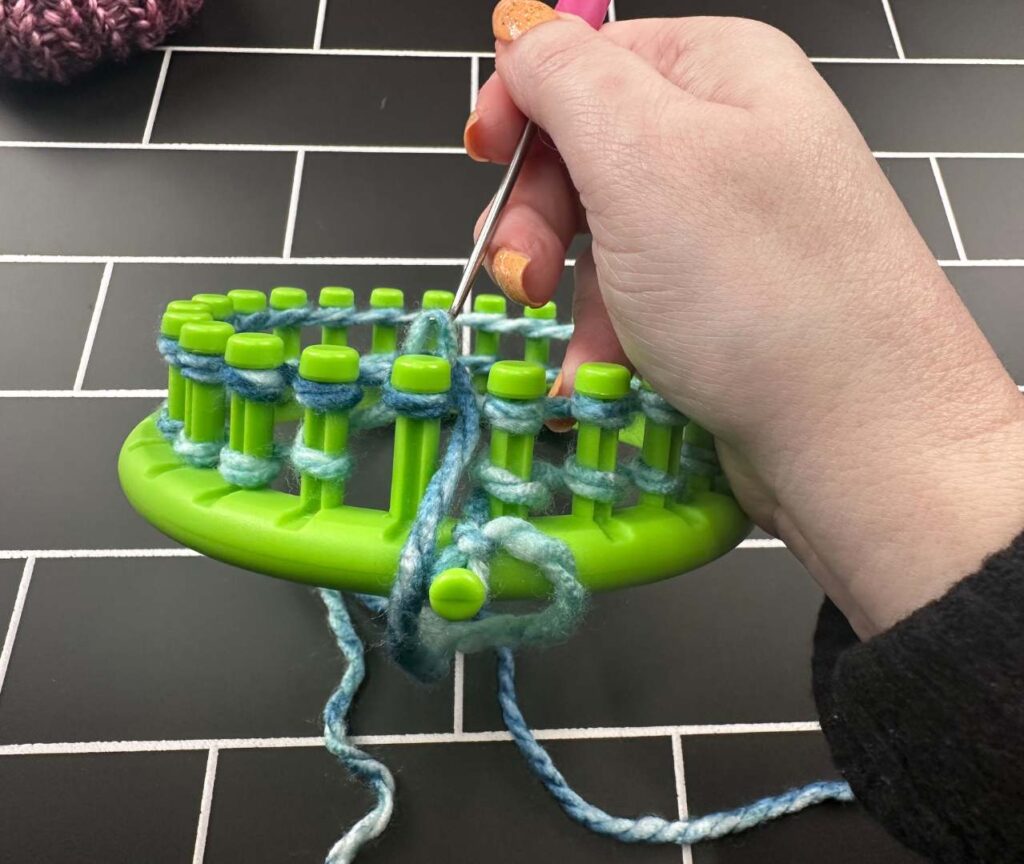
Continue to do this all the way around until you get to the last peg that you’ve already turned. Begin e wrapping again, starting with the first peg (the one to the right of the anchor peg).
Do this for as many rows as you wish. I’m using a 5 inch knitting loom, and putting on about 15 rows which creates the cutest little pumpkins – like the ones they used to give away at school. Remember that?
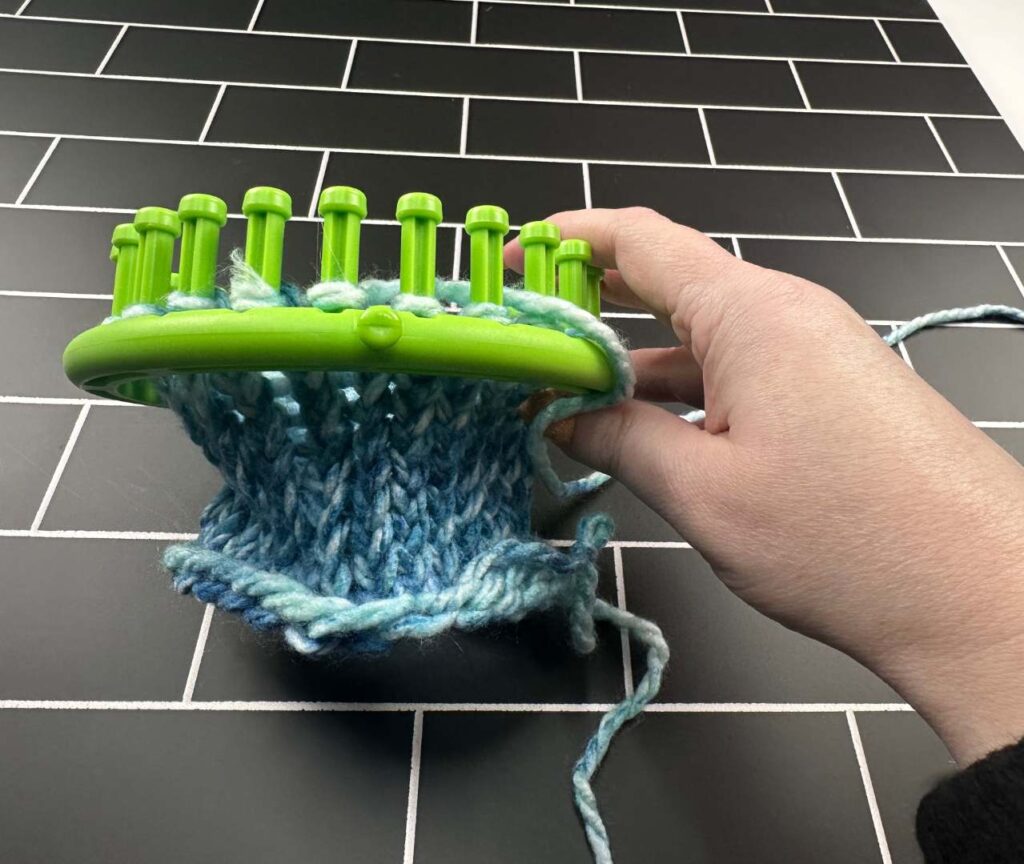
Taking your Pumpkins off the Knitting Loom
When you’ve knit as many rows as you wish, cut your yarn leaving a very long tail – 15-18 inches for a small pumpkin, longer for a larger one. Thread the tail through your yarn needle.
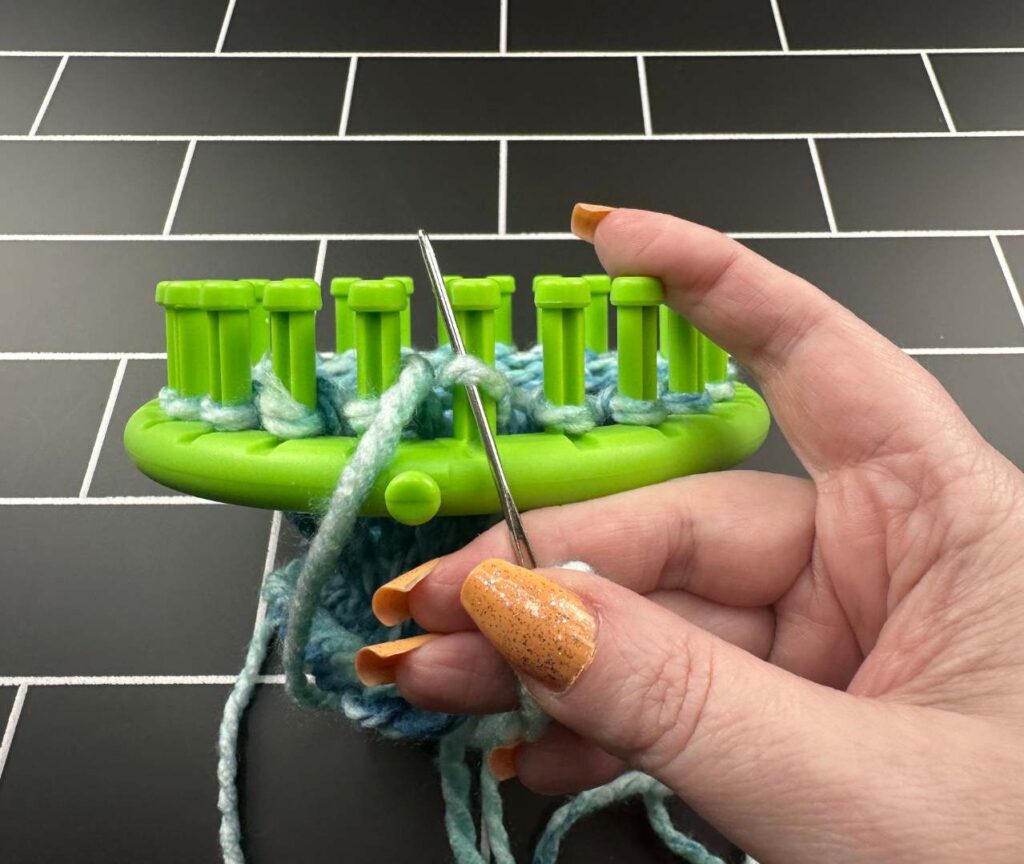
Going from bottom to top, insert your needle into the groove of your first peg, pull the needle up and the yarn all the way through the loop. Repeat this on all of your loops, all the way around.
Now take your turning hook and turn the loops completely off of your loom. They are all secure because the yarn has been placed through the loop.
Turning your Loom Knit into a Pumpkin
Take the long thread from your slip knot and pull it through a yarn needle. Pull your yarn through each of the bottom loops of your yarn pumpkin.
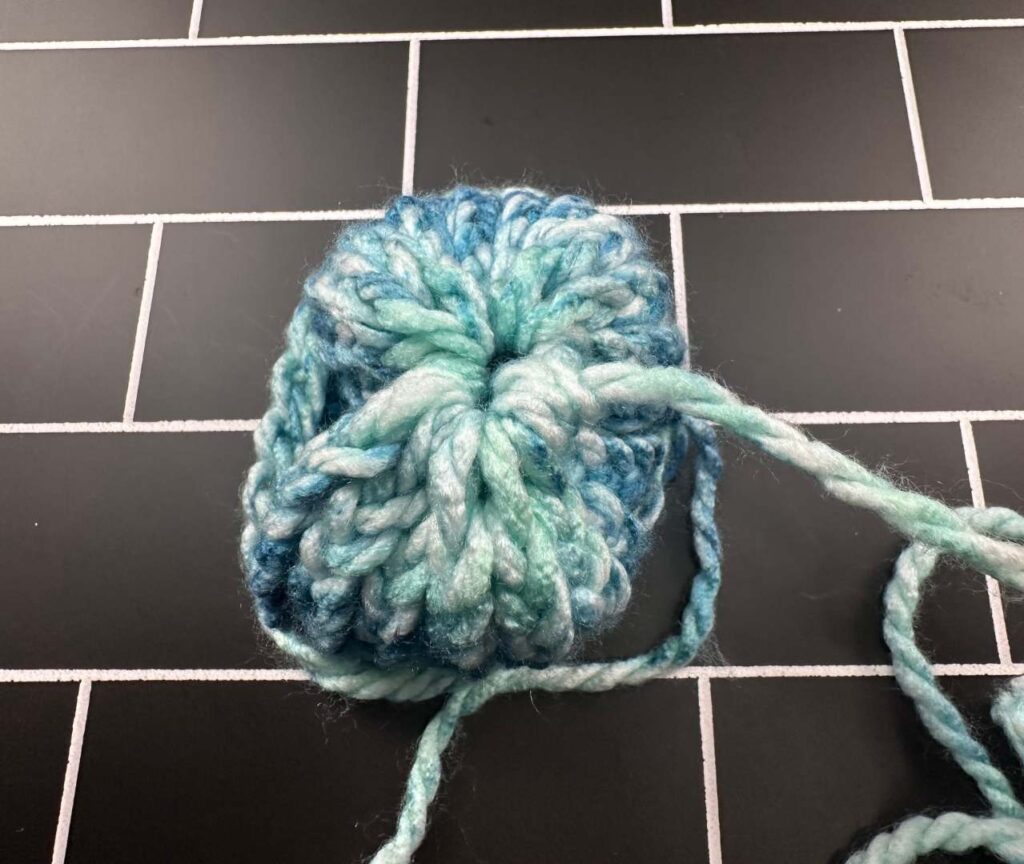
Draw the pumpkin closed tightly and using your needle, go back through the cinched circle you’ve created. Then tie a knot and shove the remaining yarn ends through the pumpkin and cut them off.
Repeat the process of placing the yarn through each of the stitches around the top of your pumpkin and cinch it.
Stuff your pumpkin with poly-fil but don’t overstuff. This make it easier to work with but it also keeps the filling from showing through on your pumpkin.
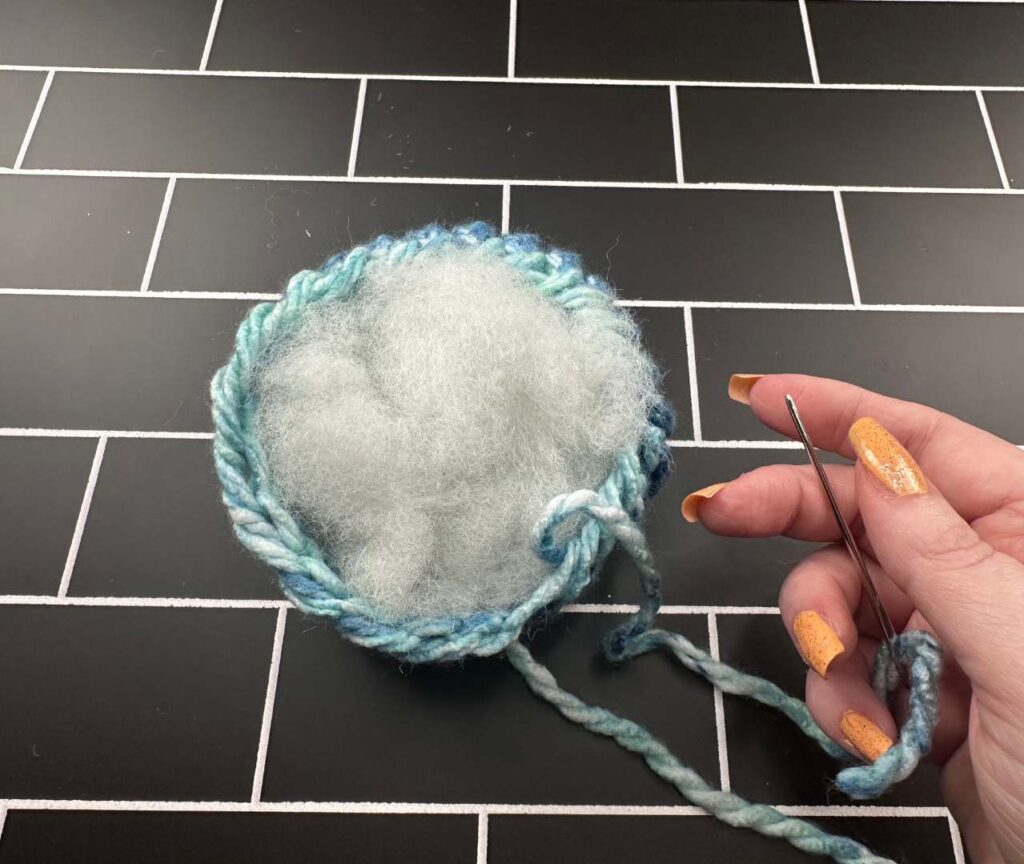
Take the yarn back through the center of the pumpkin from top to bottom catching the bottom stitches and then back up through the top of the pumpkin. Pull tightly as this is what takes your work from a ball to a pumpkin. Do not tie off – continue to the next section.
Creating Segments on your Loom Knit Pumpkin
Take your yarn from the top to the bottom of the pumpkin on the outside of the pumpkin this time. Thread your yarn up through the bottom and pull tightly. You have made your first segment. You may have to adjust this slightly with your finger to get it where you want it before moving on.
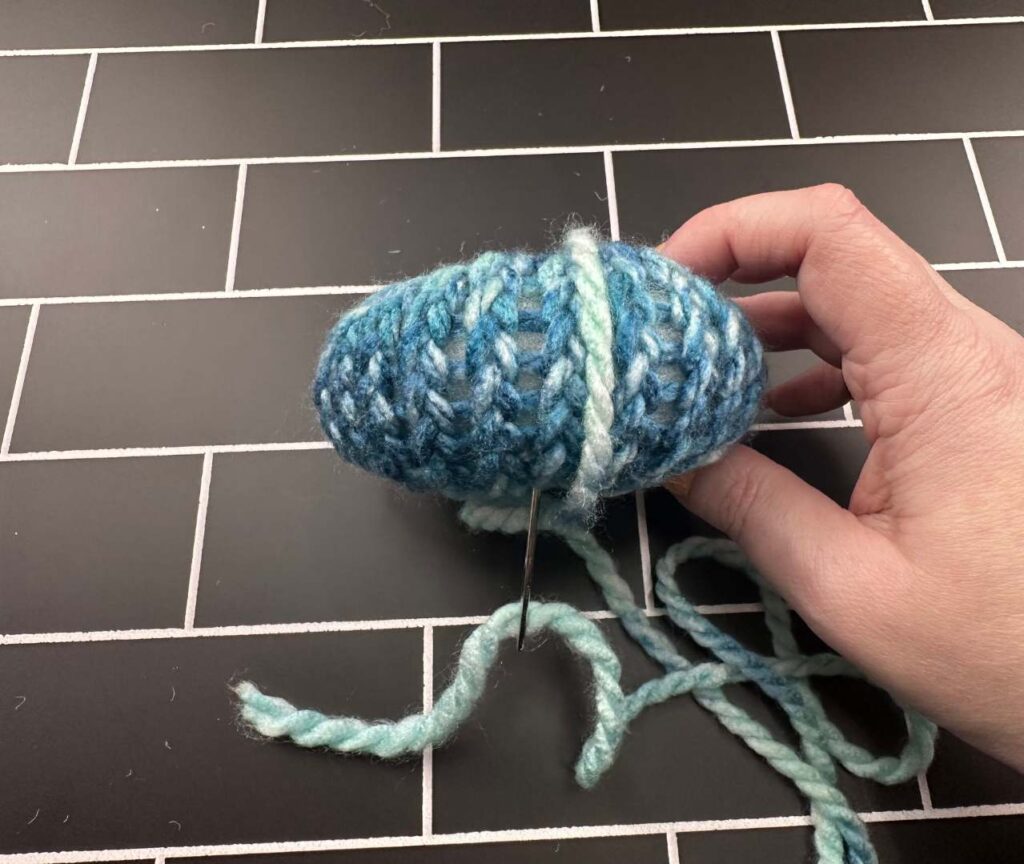
Repeat this as many times as you wish (but don’t over segment, on a small or medium pumpkin I do 4 or 5 segments.
Tie off tightly when finished.
Adding a Stem to Your Knit Pumpkin
For my stem, I took left over brown kraft packing paper from my Amazon orders and Cut a square with rounded corners on the top. How much paper you cut is entirely dependent upon how large you made your pumpkin.
Twist your paper tightly creating a stem, I folded mine over and it turned out absolutely perfect.
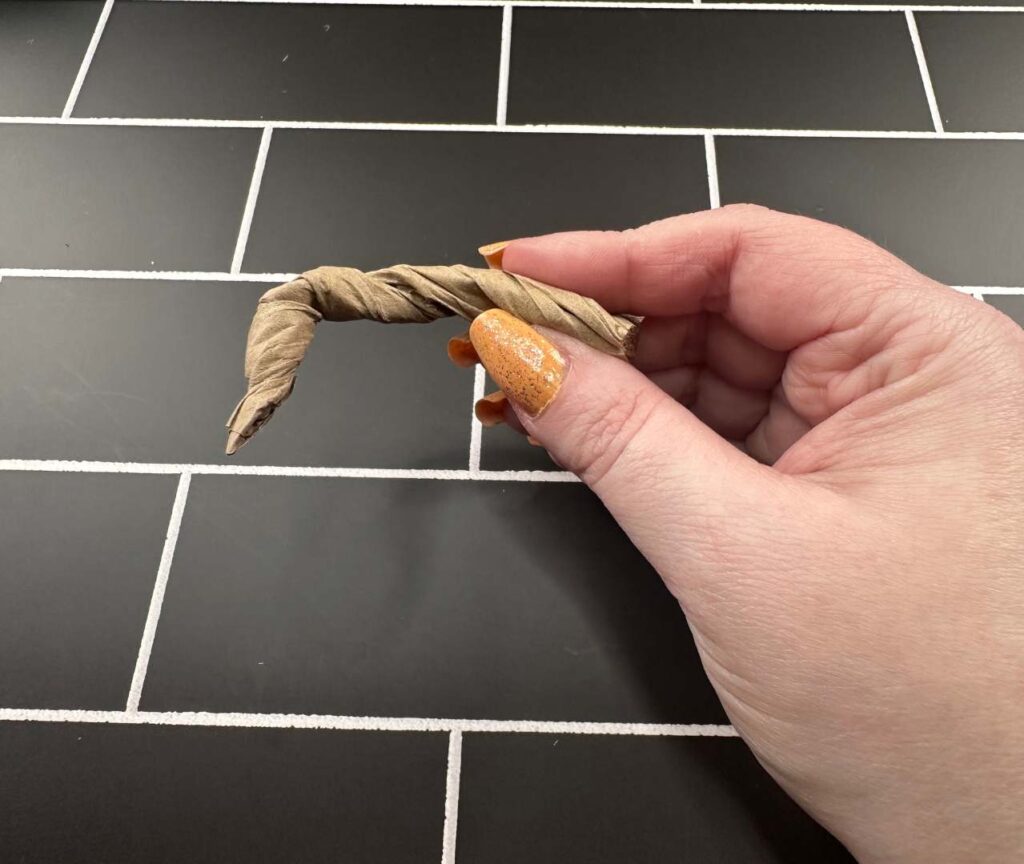
Use a hot glue gun to secure the stem to the top of your pumpkin.
Now you can marvel at how incredible your work is and how fun and easy these are to make.
Stem Alternatives
If you don’t have packing paper there are several options you could use instead
- Chenille Stems
- Cinnamon Sticks
- Dowel Rod (paint it brown or leave it natural)
- Wine Corks
- Twigs
Ways to Use
Your Loom Knit Pumpkins are adorable on their own, and most looms come in a set of multiple sizes allowing you to make an arrangenent or larger and smaller pumpkins. They can also be added to a wreath or smaller pumpkins made on a loom in floral arrangements and centerpieces.