
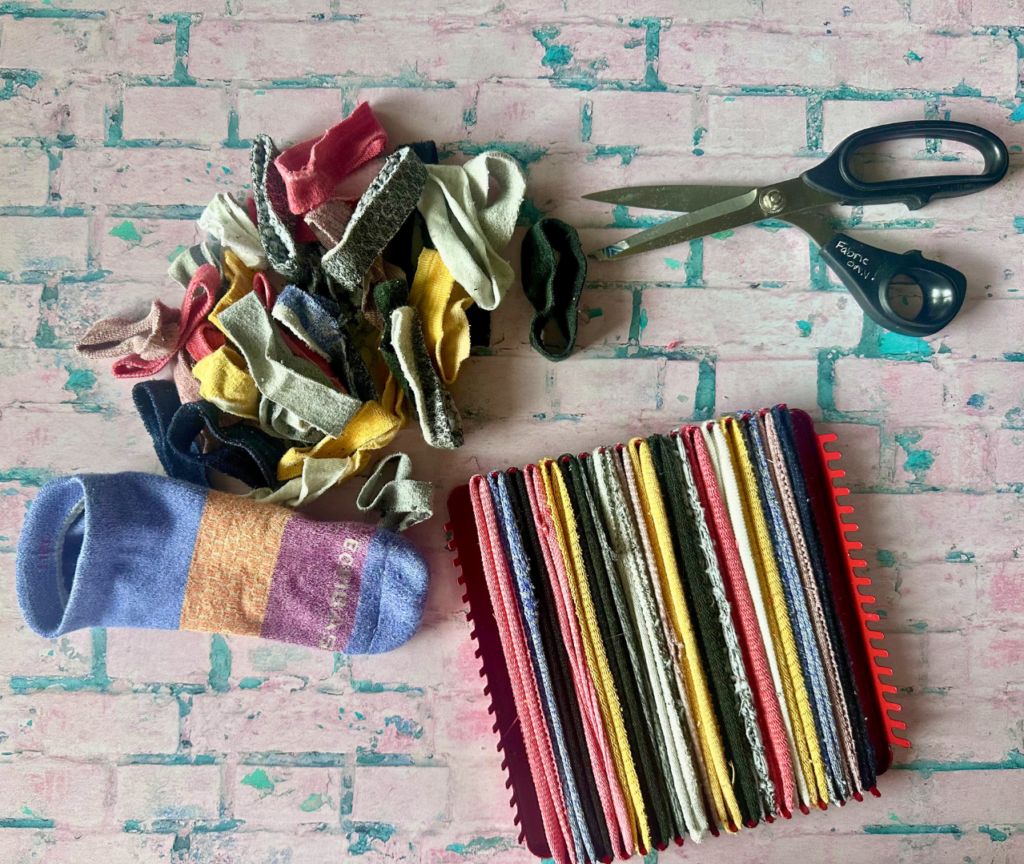
If you’ve ever looked at a lonely sock missing its partner and thought there has to be a better use for this, you’re absolutely right.
Old socks make pretty great potholder loom loops. TBH, once I used them I decidedly liked them better than store bought cotton or polyester loom loops They’re soft, stretchy, and the textures from seams, embroidery, or patterns create beautiful woven pieces that feel extra delicious.
And the best part? You’re turning something that would normally get tossed into something useful and handmade.
Here’s exactly how to do it.
Why Socks Work So Well on a Potholder Loom
Most socks are made with a blend of cotton, polyester, and elastane. That little bit of stretch is what makes them perfect for weaving.
When cut into strips, sock loops:
- Stretch easily across the loom
- Hold tension well while weaving
- Create thicker, more cushioned potholders
- Add unexpected texture and color
Decorative socks can be especially fun to use. Embroidery, ribbing, and printed patterns all show up in the finished weave and create layers of visual texture you just can’t get from standard loops.
Stretchier socks tend to work a little better, but honestly – experimenting is half the fun.
I will say that I have even used those XXXL grippy socks they give you at the hospital because I love this so much – but only the ankle part of them work well. Still, I’ll try anything.
What You’ll Need
- Old socks (clean, of course)
- Fabric Scissors
- A potholder loom
- A loom hook
That’s it. No special supplies required.
Step 1: Cut the Socks Into Loops
Lay the sock flat and cut it into ½ to ¾ inch strips across the width of the sock.
Think of it the same way you’d cut fabric strips for weaving.
Some quick tips:
- Cut straight across the sock from side to side
- Aim for fairly even strips
- Avoid the very top cuff if it’s extremely thick
Each strip becomes a stretchy loop once it’s cut.
Don’t worry if they’re not perfect, the loom is very forgiving.
Step 2: Stretch the Loops
Before putting the loops on the loom, give each strip a gentle stretch.
This helps them:
- curl slightly
- soften
- behave more like traditional potholder loops
You’ll quickly feel which socks stretch best. Athletic socks and soft cotton socks tend to work beautifully.
Step 3: Warp the Loom
Place the loops on the loom just like you normally would.
Stretch each loop across two pegs to create the vertical warp layer.
Because sock loops are often thicker than store-bought loops, you may find they fill the loom faster and create a more cushioned base.
That’s part of what makes them so satisfying to weave.
Step 4: Weave the Potholder
Using your hook, weave additional sock loops over and under the warp loops across the loom.
The texture really starts to show here.
If your socks had:
- ribbing
- little embroidered details
- thicker seams
you’ll notice those elements popping up in the weave and creating yummy texture throughout the finished potholder.
Every piece ends up looking a little different.
Step 5: Finish the Edges
Once the loom is filled, finish the potholder the same way you normally would:
Loop the edges together one at a time until the piece lifts off the loom.
Because sock loops tend to be slightly thicker and stretchier, the finished potholder often ends up feeling extra thick.
A Simple Way to Log Off and Make Something
There’s something satisfying about taking something worn out and giving it a second life.
Cutting up a few old socks, setting up a loom, and weaving for a while is the kind of simple, quiet activity that helps you step away from screens and make something with your hands.
Sometimes logging off a little doesn’t mean starting a big project.
Sometimes it just means grabbing a pair of old socks and seeing what they turn into.